Let's Build an Android Launcher Application with Flutter
Launcher app is one of the most important application for android mobile users. In this article we are going to learn to build Android launcher application using Flutter framework.
There is also a video tutorial, it’s old but most of the things are still relevant
Let’s start by creating a Flutter project. As we only need Android project, let’s create a project using following command.
flutter create flutter_launcher --platform=androidOpen the newly created project in your code editor.
Update Manifest
We need to update the manifest file to make sure our app is considered as launcher application. We need to add following intents to our main activity. And also make sure we add following flags.
Open android/app/src/main/AndroidManifest.xml and update the intent filter for the MainActivity as the following.
<intent-filter>
	<action android:name="android.intent.action.MAIN"/>
	<category android:name="android.intent.category.LAUNCHER"/>
	<category android:name="android.intent.category.HOME"/>
	<category android:name="android.intent.category.DEFAULT"/>
</intent-filter>
Also add the following permission on the manifest file
<manifest
	xmlns:android="http://schemas.android.com/apk/res/android"
    package="com.example.flutter_launcher">
    <!-- add this permission -->
    <uses-permission
	    android:name="android.permission.QUERY_ALL_PACKAGES"/>
...
Update Styles
Next, we would want to show the system wallpaper as the background, for that we need to update the activity theme.
Open android/app/src/main/res/values/styles.xml and add the following style
<style name="Theme.Transparent" parent="android:Theme"></style>;
	<item name="android:windowBackground">@android:color/white</item>
	<item name="android:windowContentOverlay">@null</item>
	<item name="android:windowNoTitle">true</item>
	<item name="android:backgroundDimEnabled">false</item>
	<item name="android:windowShowWallpaper">true</item>
</style>
Open android/app/src/main/res/values-night/styles.xml and add the following style
<style name="Theme.Transparent" parent="android:Theme">
<item name="android:windowBackground">@android:color/white</item>
<item name="android:windowContentOverlay">@null</item>
<item name="android:windowNoTitle">true</item>
<item name="android:backgroundDimEnabled">false</item>
<item name="android:windowShowWallpaper">true</item>
</style>This style is used to display the system wallpaper as the activity background for both light and dark mode.
Then update the theme of MainActivity in android/app/src/main/ApplicationManifest.xml to use the Theme.Transparent.
<activity
	android:name=".MainActivity"
	android:theme="@style/Theme.Transparent"
>
...
</activity>
Also, from the same file, remove following meta data
<!-- Remove following meta data -->
<meta-data
	android:name="io.flutter.embedding.android.NormalTheme"
	android:resource="@style/NormalTheme"
/>
Then, open android/app/src/main/kotlin/com/example/flutter_launcher/MainActivity.kt and update as the following to set the background mode to transparent.
package com.example.flutter_launcher

import io.flutter.embedding.android.FlutterActivity
import android.os.Bundle
import io.flutter.embedding.android.FlutterActivityLaunchConfigs.BackgroundMode.transparent

class MainActivity: FlutterActivity() {
    override fun onCreate(savedInstanceState: Bundle?) {
        intent.putExtra("background_mode", transparent.toString())
        super.onCreate(savedInstanceState)
    }
}
Finally, open lib/main.dart and set the background color of scaffold to transparent.
Scaffold(
backgroundColor: Colors.transparent,
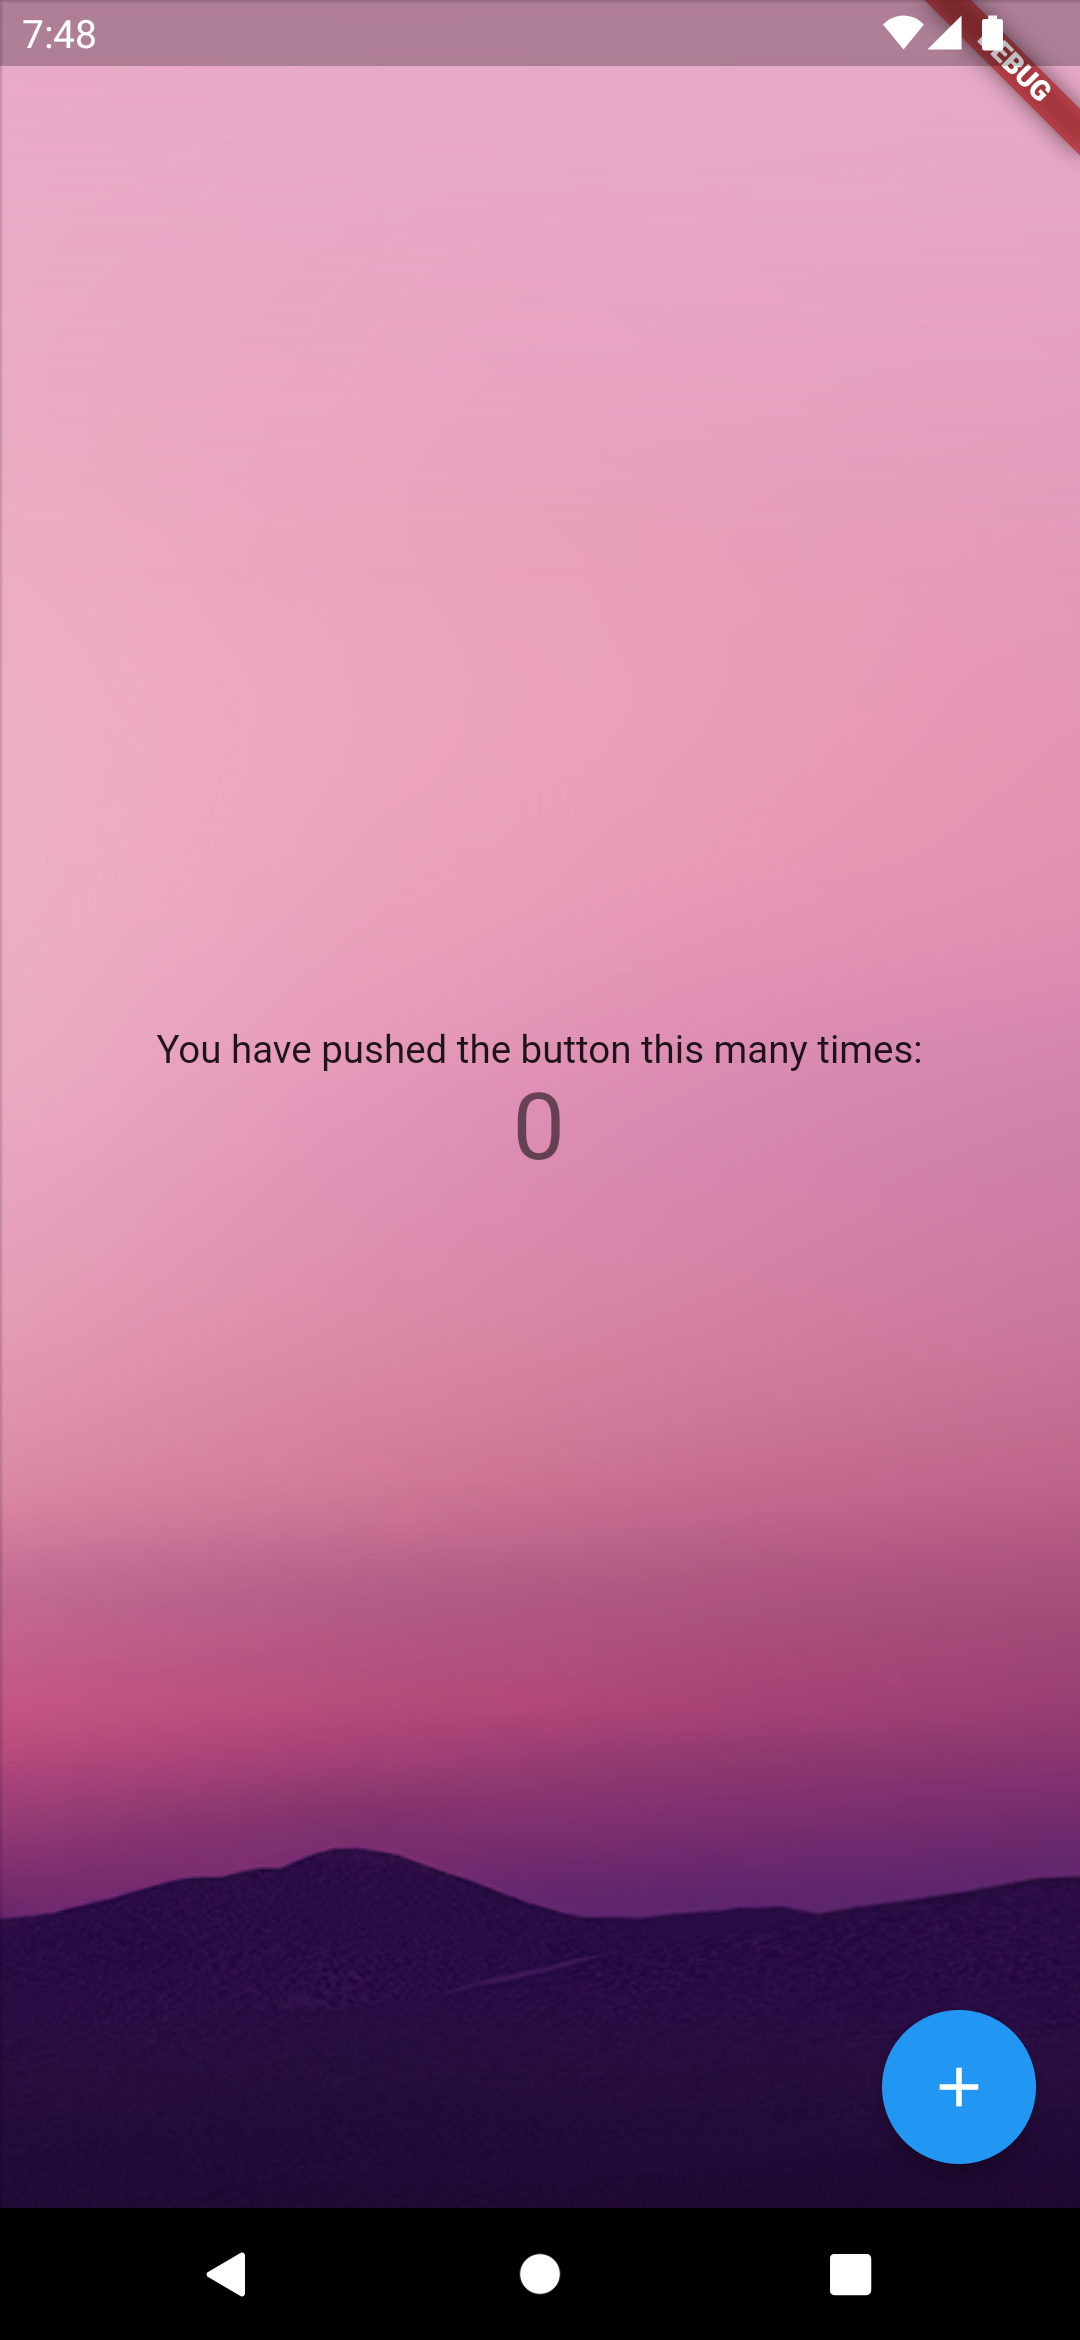
)Build and Run
By now, we should be able to launch this application and set is as the default home app for our Android phone and also view the system wallpaper as the background.
Load and List Applications
Android launcher application is supposed to list all the installed and system applications. It is the home from where users will be able to access their phone, data and applications. So let’s start by loading and listing applications available in the phone.
Add Dependency
We will use a package to get list of installed application details.
flutter pub add device_appsOr manually update pubspec.yaml by adding the dependency.
dependencies:
	device_apps: ^2.2.0 #use the latest version
Get List of Applications
We will use simple approach using the StatefulWidget. However when you are building a final application, you should use state management as well as some database capabilities to enhance the performance of your application.
Open lib/main.dart and update the _MyHomePageState class as the following.
class _MyHomePageState extends State<MyHomePage> {
Widget build(BuildContext context) {
return Scaffold(
backgroundColor: Colors.transparent,
body: ListView.builder(),
);
}
}We have cleared everything to keep it simple. Now let’s add a function that will get list of applications using the plugins.
import 'package:device_apps/device_apps.dart';

class _MyHomePageState extends State<MyHomePage> {
  List<Application> applications = [];
  void getApplications() async {
    final apps = await DeviceApps.getInstalledApplications(
      includeAppIcons: true,
      includeSystemApps: true,
      onlyAppsWithLaunchIntent: true,
    );
    setState(() {
      applications = apps;
    });
  }
}
Now, in the initState we call our getApplications function.
void initState() {
super.initState();
getApplications();
}Now that we have the list of applications, we can display them in the body. Let’s update the ListView.builder as the following
body: ListView.builder(
  itemCount: applications.length,
  itemBuilder: (context, index) {
    final application = applications[index] as ApplicationWithIcon;
    return ListTile(
	  title: Text(application.appName),
	  leading: Image.memory(application.icon),
    );
  },
),
Here, we are just listing the list of applications we got back using the package.
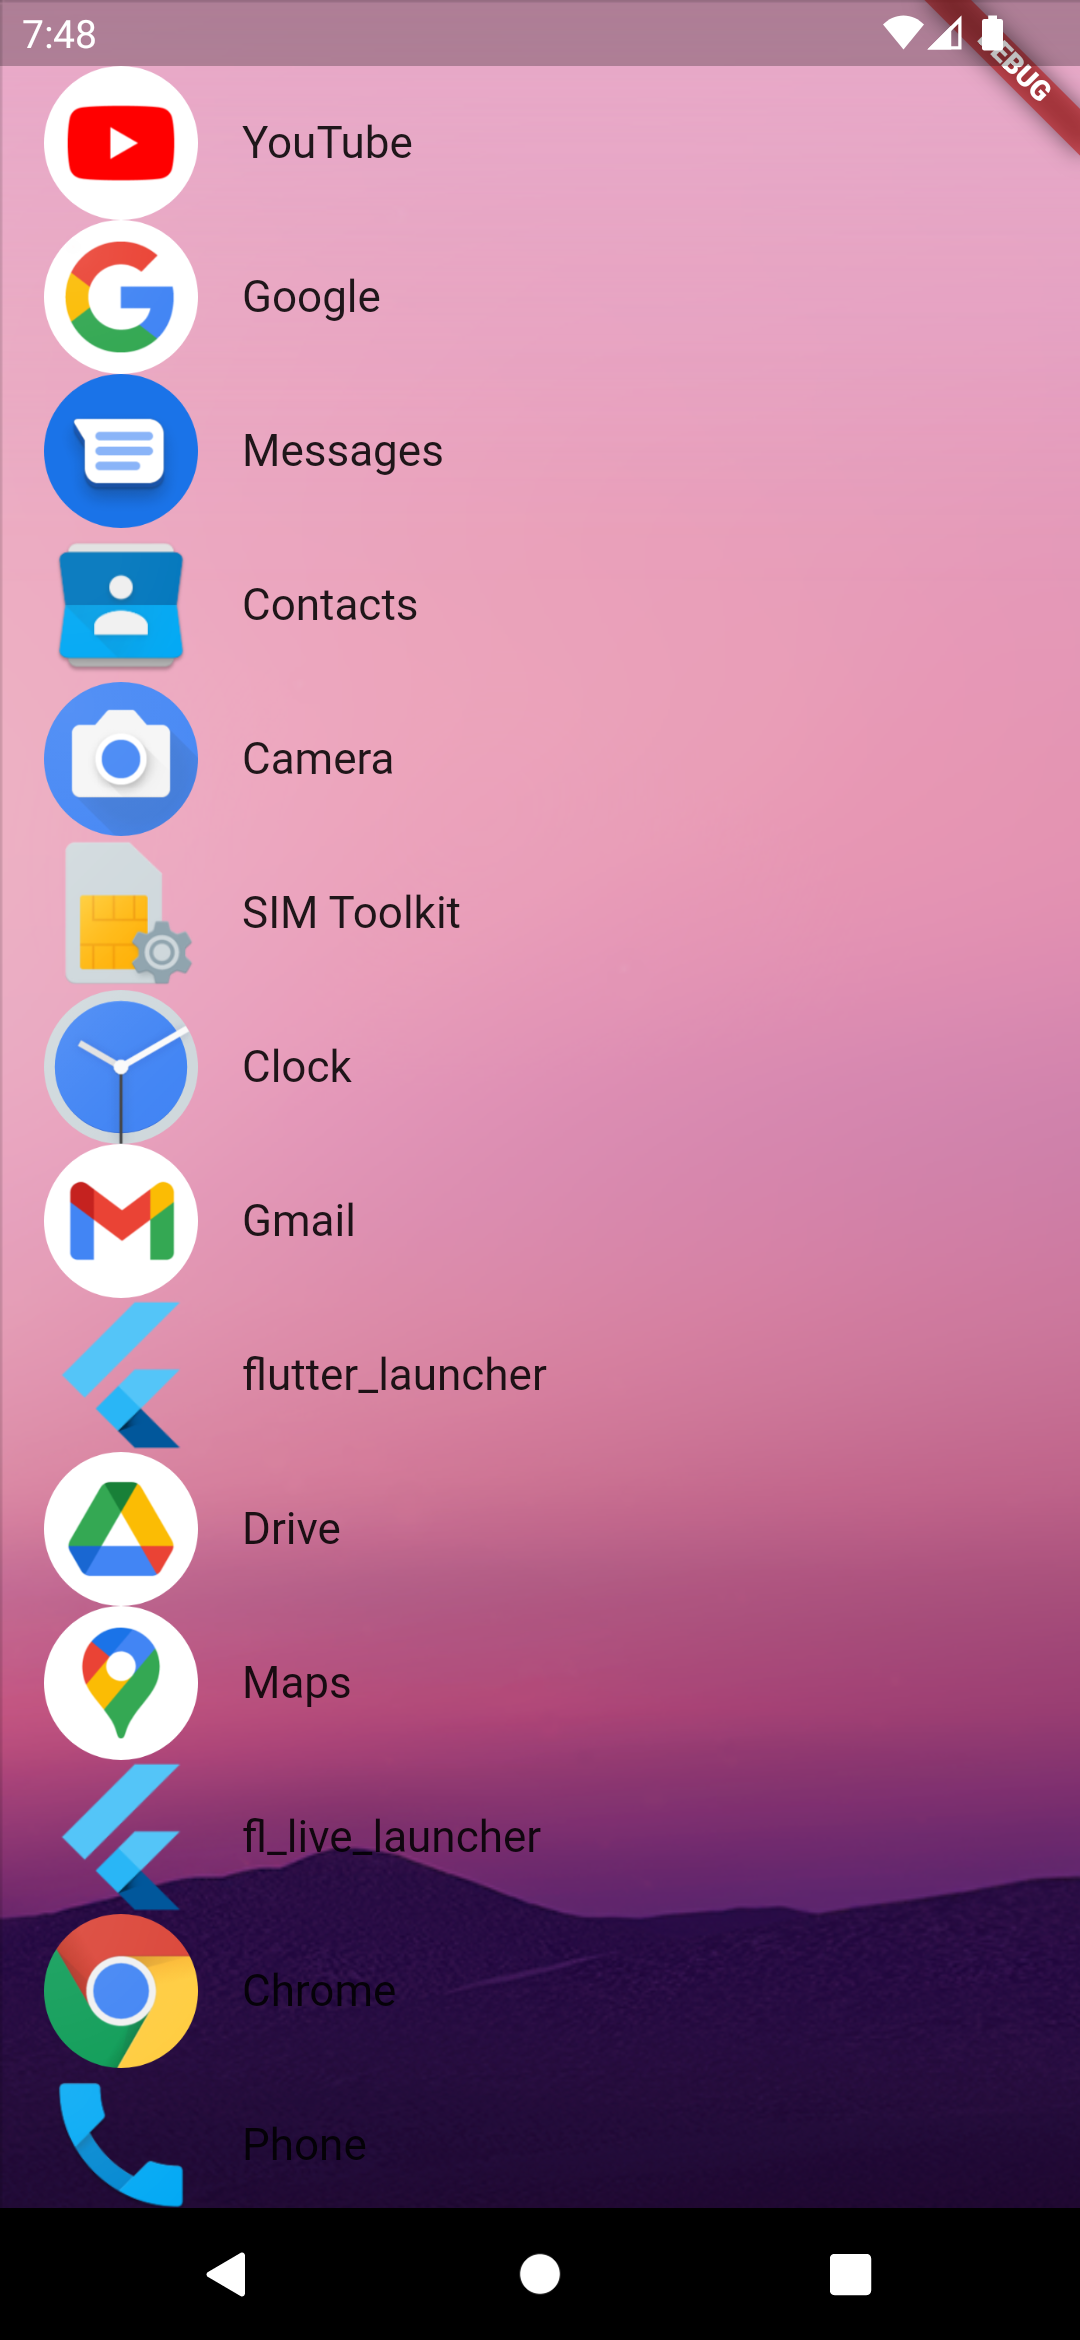
Finally, when we tap the list tile we want to open the application, let’s update the ListTile as the following.
return ListTile(
  title: Text(application.appName),
  leading: Image.memory(application.icon),
  onTap: () {
    DeviceApps.openApp(application.packageName);
  },
);
Now if you reload the application, once you tap on the application, the application will be launched.
Source Code
- Source code for this tutorial https://github.com/lohanidamodar/flutter_android_launcher
- Source code for launcher app with riverpod state management https://github.com/lohanidamodar/fl_live_launcher
Conclusion
That’s how easy it is. Apart from listing and displaying applications, now you can add all sorts of features that you want in your launcher application. Whatever is possible with Flutter, now you can add in your own launcher.
Enjoyed? Tell your friends.